Making Paper Flowers
When paper is folded and snipped, it can make such charming additions to our videos. We’ve made paper girls and a paper world, and today we’re showing you how we make paper flowers! Flowers crafted from colorful paper are graceful, fun to make, and always in season. Arrange a few on your dinner setting, tuck one behind your ear, or create a whole bouquet!

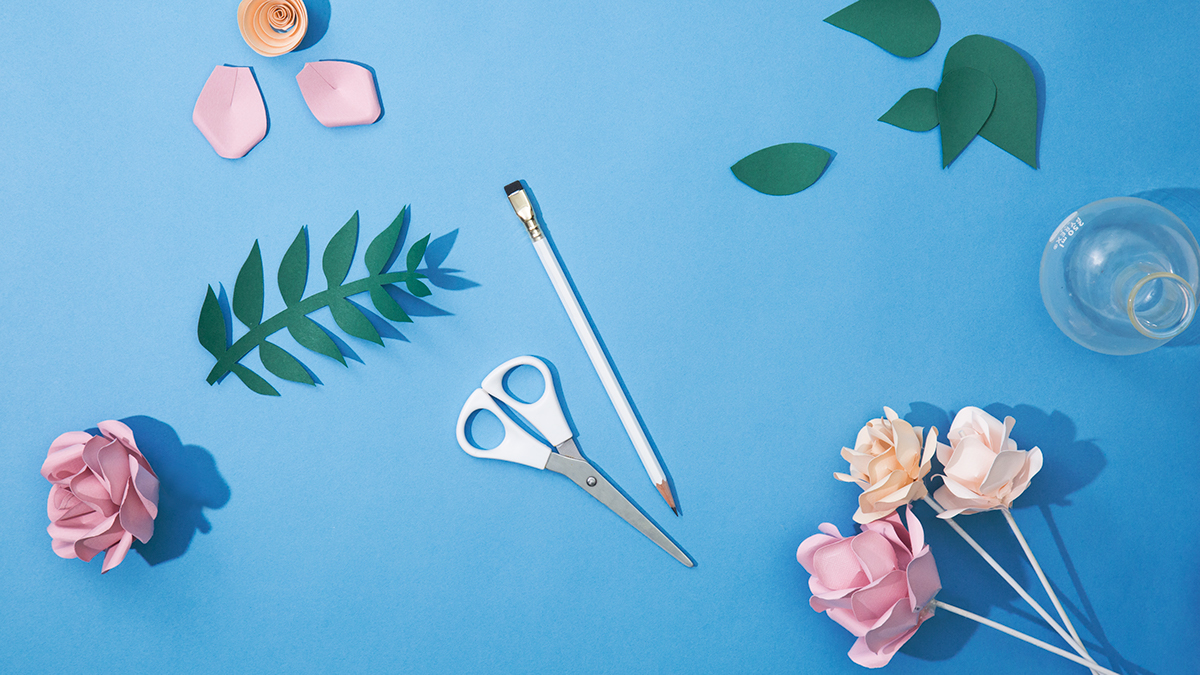
Supplies
- Scissors
- Paper
- Straws
- Pencil
- Double Sided Tape
- Glue Gun
Instructions
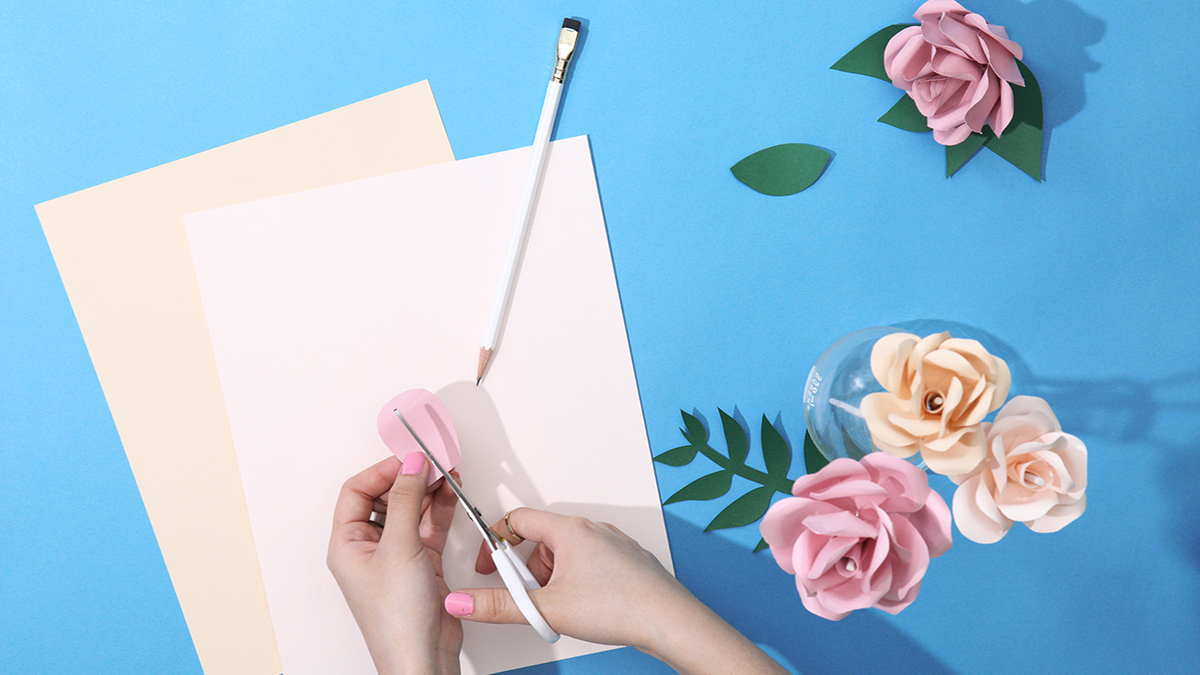
- Start by folding a piece of paper into eighths: first fold the paper hotdog style then cut it in half along the seam. Then fold one of the papers hamburger style, then hamburger style again.
- Trace a rounded square petal shape on the edge of the folded paper and then cut out the petals. Make sure to leave the bottom of petal wide. You’ll be giving the petal its tapered petal shape in the next step!
- Cut a slit directly down the middle of the petal, to about halfway to the top.
- Insert double-sided tape into the fold. Use just enough so that the top fold can completely cover the tape.
- Using a thin straw, curl the tops of the flowers back to give the petals a realistic look.
- Repeat steps 3-5 with the rest of the petal cutouts.
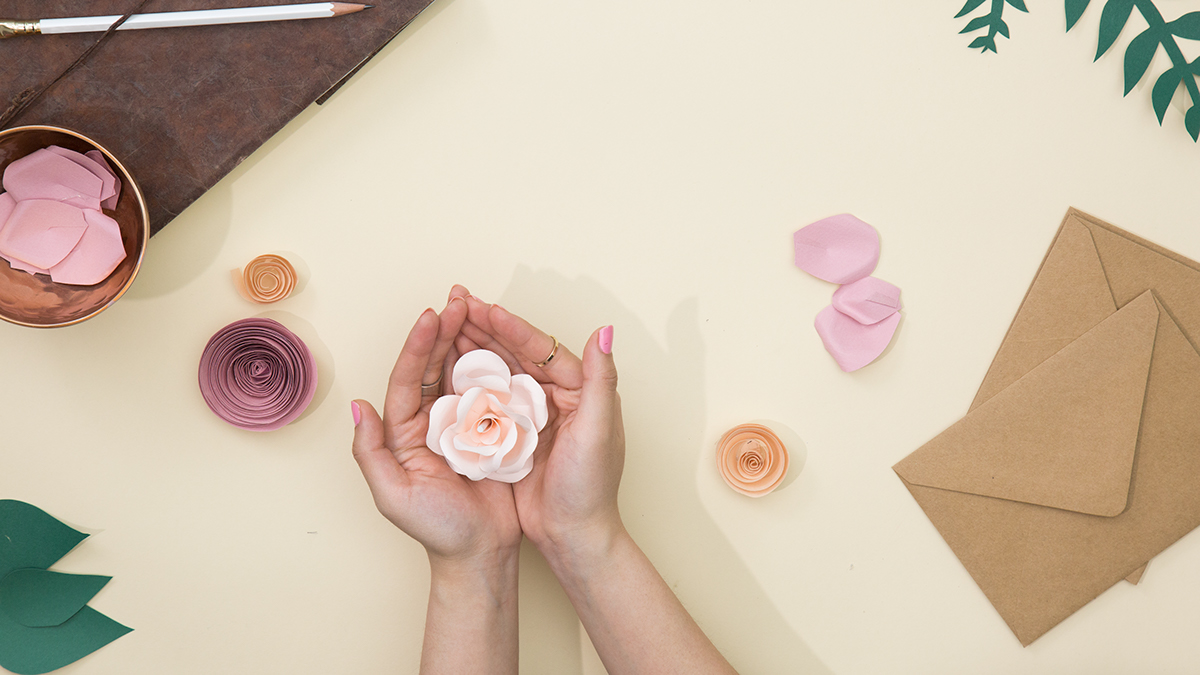
- Now time to assemble! For the center piece of the flower- completely wrap two petals around a thin straw. Secure with double-sided tape.
- Voi-la! Using a hot glue gun, place the rest of the petals around the center piece evenly, mimicking the natural grow pattern of a flower.
